Labelling Your Parts: Barcodes and Labels for Error-Free Scanning
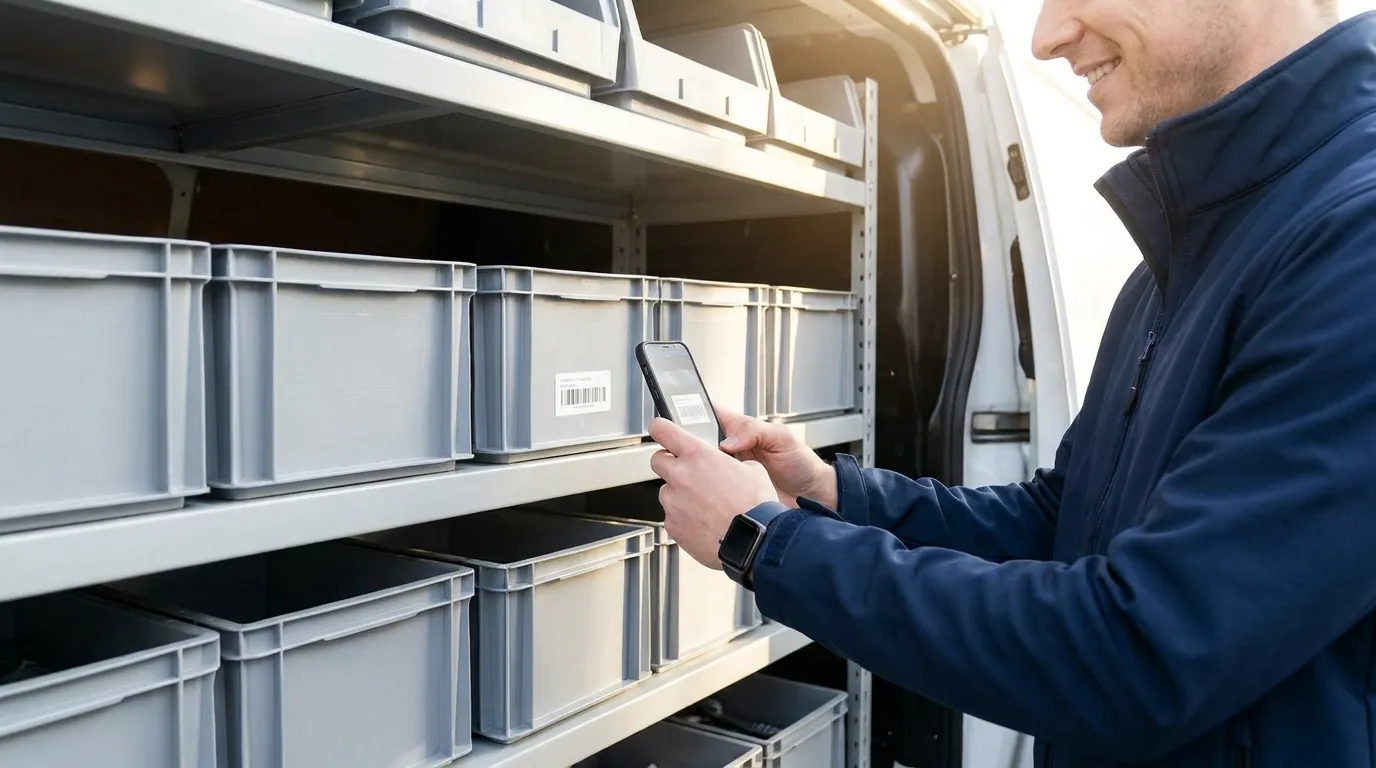
Scanning is what makes stock tracking sustainable on a job site. But every part needs a code to scan. And a good share of a tradesperson's stock is loose, unpacked or sold without a barcode. The solution: label the bins, once and for all.
Why label, when parts already have a barcode?
Many parts arrive with the manufacturer's barcode, often an EAN-13. When it is there, use it: nothing to print, you just scan the box. But in a van, reality is different:
- small parts are stored loose in bins, without their packaging;
- some arrive with no code, or with a code specific to the wholesaler;
- the original label ends up torn off or unreadable after a few weeks on site.
In all these cases, it is the bin you need to label, not the part.
1. Keep the manufacturer's code when there is one
If your parts have an original barcode, save it in the item record: you just scan it when creating the item. The common formats are all recognised (EAN-13, EAN-8, UPC-E, Code 128, Code 39, QR code and DataMatrix). When an order arrives, you scan the boxes as they are.
And if you still print a label for the bin, you can reuse that original code on it: the box and the bin then scan in the same way.

2. Generate a code for everything else
For parts without a code, the app can generate one for each item. You print it on a label, stick it on the bin, and the item scans like any other product. The manufacturer's code, if there is one, is still recognised when scanned: the two coexist.
3. Print on standard label sheets
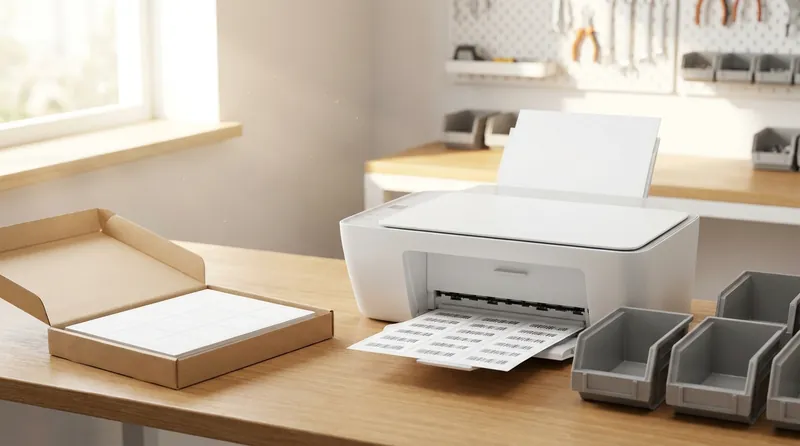
No special printer needed: an office printer and sheets of self-adhesive labels are enough. VanStock labels print on three common Avery formats:
- L7163: 14 labels per page, large, for the main bins;
- L7161: 18 labels per page;
- L7160: 21 labels per page, for small drawers.
You select the items, choose the format and the number of copies, and you get a ready-to-print PDF, with the item name, its reference and your company logo. Label printing is part of the Pro and Enterprise subscriptions.

4. Where to stick the label
- On the front of the bin, at eye level, not on the lid: a lid gets lost or swapped.
- One label per item, not per bin: if a bin holds two references, separate them or use two clearly distinct labels.
- Away from wear and tear: on a bin that is pulled out and slid back in every day, a label protected by a clear film lasts much longer.
5. Scan at the right moment
Once the stock is labelled, the gesture becomes automatic: you take the part, scan the bin, enter the quantity. Several parts for the same job? A batch exit lets you scan everything, then confirm once. The same principle applies at delivery and during the stocktake: scanning saves you hunting for the item in a list.
For the full day-to-day tracking method, see How to manage your van stock as a tradesperson: a simple method.
Where to start?
Do not label everything at once. Start with the items you take out most often that have no readable code: in one evening, one or two sheets of labels cover most of a van.
In short
- The manufacturer's code when there is one, a generated code for the rest.
- Label the bin, not the part.
- Standard Avery sheets and an office printer are enough.
- One label per item, on the front, protected if needed.
Frequently asked questions
Do you need a special printer to print barcode labels?
No. An office printer and sheets of self-adhesive labels in Avery format (L7163, L7161 or L7160) are enough: the app produces a ready-to-print PDF.
Which barcodes can you scan with an iPhone?
The common retail and industrial formats: EAN-13, EAN-8, UPC-E, Code 128, Code 39, QR code and DataMatrix.
What do you do with parts that have no barcode?
Generate a code for the item, print it on a label and stick it on the bin where the part is stored. The item then scans like any other product.
Read next
Article published on the VanStock blog: https://vanstock.app/en/blog/barcode-labels-parts-stock/